Metal Roofing Tools 101: Recommended Tools for Installing a Metal Roof
What tools do you need to install a standing seam metal roof? In this article, we discuss aviation snips, shears, flangers, edge markers, and more.
Installing a metal roof can be complex. You need to understand the materials you’re working with and have an in-depth knowledge of the craft. With such a focus on technique and preciseness, you want to ensure you have the right tools to match.
Sheffield Metals International (SMI) provides metal roofing materials and supplies, including coils, sheets, and accessories. We also provide valuable information, via our Architectural and Technical team and resources in the Metal Roofing Learning Center. By working with countless metal roofing contractors over the years, we’ve learned what it takes to install a metal roof and what tools are worth packing for your next project.
Whether you’re a DIYer or an installer about work on your first metal roof, this article, will help you understand which tools you’ll need to install a metal roof successfully.
What Tools Do I Need for a Metal Roof Installation?

Keep in mind that many of the tools you use for your metal roofing project will come down to personal preference. Most of these tools will come in a variety of different measurements and brands, so it’s up to you to choose the one you feel most comfortable with and that would be most effective for your specific job. You can visit trade shows to explore new tools and try out different brands to see which ones suit your tastes. Some of our customers have been using the same brand for thirty years, for instance, while others like to stay on top of the latest innovations. It all comes down to what you want out of the tool and what gets the job done.
For this article, we’ve split up listings into various categories:
- Bending Tools
- Fastening Tools
- Standard Tools
- Cutting Tools
- Measuring Tools
- Marking Tools
- Specialty Tools
Bending Tools
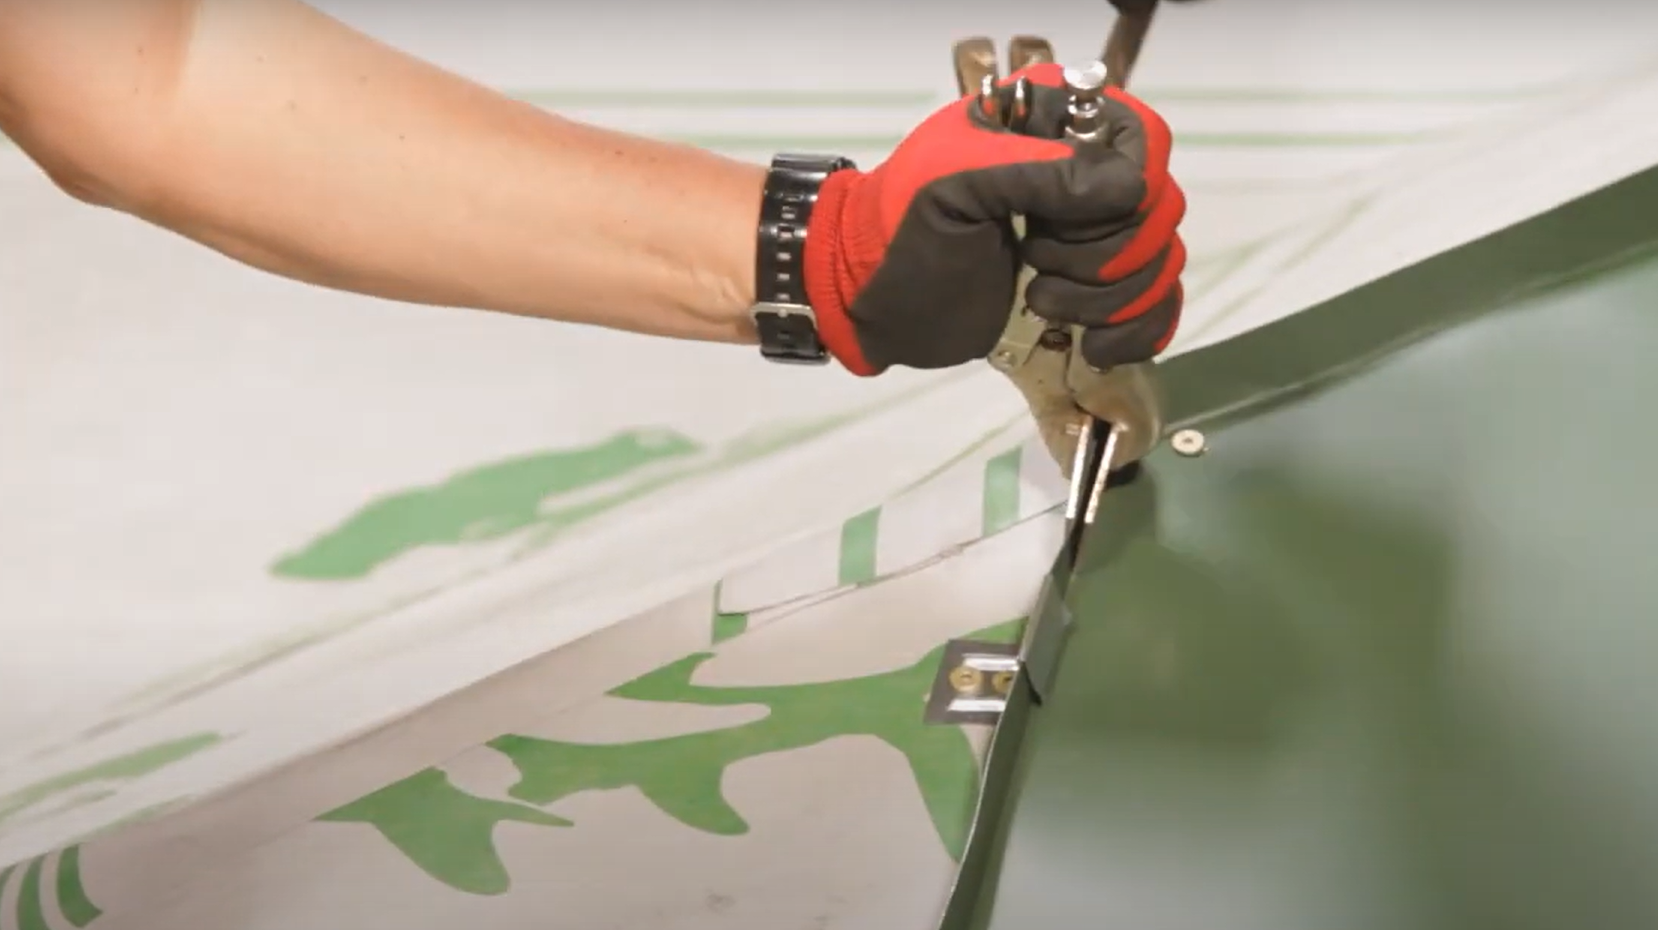
- Flangers: Used for creating details and bending metal. The flangers shown in the image are duckbill flangers, an old but reliable tool that allows you to control the amount of pressure it takes to lock the vice grips. Members of our Technical Team like using duckbill flangers, but you can find a vast variety of other options to choose from.
- Seaming pliers
- Hand Roller
- Hemming Folder
- Edge Folder
- Hand seamer: Used to seam mechanical seam panels. If you have a mechanical seam profile, you will need either a single-lock seamer or a double-lock seamer. These will be profile-specific — one for a 1” and a 2”, for example. Even if you’re using a robotic seamer, you’ll need a hand seamer to use at the front of the panel and at the clips.
Fastening Tools

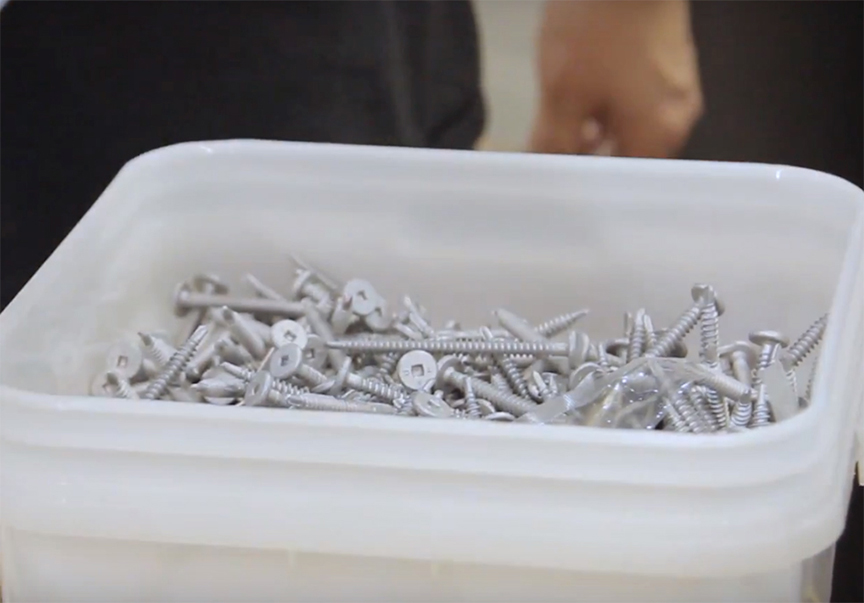
- Riveter: For installing rivets at certain flashing zones, such as sidewalls and headwalls. Sheffield Metals only sells two main sizes of rivets for standard projects: #44 and #43. You can choose hand riveters or use powered riveters for larger, more involved jobs.
- Screw Gun/Drill: For drilling rivet holes and fastening screws. Torque-controlled devices like screw guns will help control the depth in which you put your screws and defend against fracturing the screw or “spin out” where the fastener has been stripped out, negating the pull-out potential. When using an impact driver, it’s common to fracture the screw without knowing it. Because of this, impact tools are not recommended for metal roof installation — instead, opt for a torque-controlled tool that will give you more depth control, resist strip-outs, and help with properly seating the fasteners on exposed fastener systems.
Cutting Tools

- Double Cut Shears: Used to make long cuts on metal. You can also purchase cordless options for added convenience.
- Aviation Snips: The core of a metal roofer’s toolkit. Since cutting operations are the most common during installation, you’ll want to find a reliable pair of aviation snips you’re comfortable using. Aviation snips come in pairs — with “reds” cutting to the left and “greens” cutting to the right. You can also find larger pairs of snips that cut straight through longer pieces of metal.
- Wood Saws: For cutting plywood to size during installation or cutting around penetrations.
Standard Tools
- Hammer: A smooth-faced carpentry hammer can be used for removing plywood, opening up hems, and closing gaps and box ends. Rubber mallets are used to seam, hem, and complete bends.
- Screwdriver
- Pliers
- Sawhorses: You can place your panels on these when fabricating.
- Utility Knife
Measuring Tools
- Tape Measures
- Speed Squares: It’s a good idea to have a small and large speed square to help you take angle measurements and ensure areas are squared.

Marking Tools
- Water Soluble Pen
- Scoring Tool: Not for use on finish surfaces.
- Chalk Lines: To ensure deck surfaces are level and to make straight marks. Remember to clean chalk dust off the metal.
Specialty Tools
- Caulking Gun: For large jobs, consider opting for a get a high-compression gun, as it can significantly improve efficiency by allowing you to apply sealant quicker.
Where Can I Find More Information About Metal Roof Installation?
There is a huge amount of variety when it comes to choosing tools, whether it be size, brand, or application. There’s a tool for any action you need — sometimes, the best option is to find the ones that are most versatile and efficient. The key is to find the right tool for your unique situation, taking into account what specifics you’ll need for your project and which tool will give you the best utility. With the right tools, you can have a successful installation and remain safe throughout the project.
After reading this article, you should have a better idea of what tools you’ll need to install a metal roof. Now, you may be looking for metal roofing installation best practices, or how to handle materials during installation. Visit the Metal Roofing Learning Center for more information on metal roofing installation.
Sheffield Metals also provides metal coils, sheets, and accessories, along with expert guidance from our Architectural and Technical team. Reach out today with any questions.