How to Install Snow Guards on a Metal Roof
Looking for a step-by-step guide for installing snow guards on a metal roof? This article walks through all the details of installing your snow guard system.
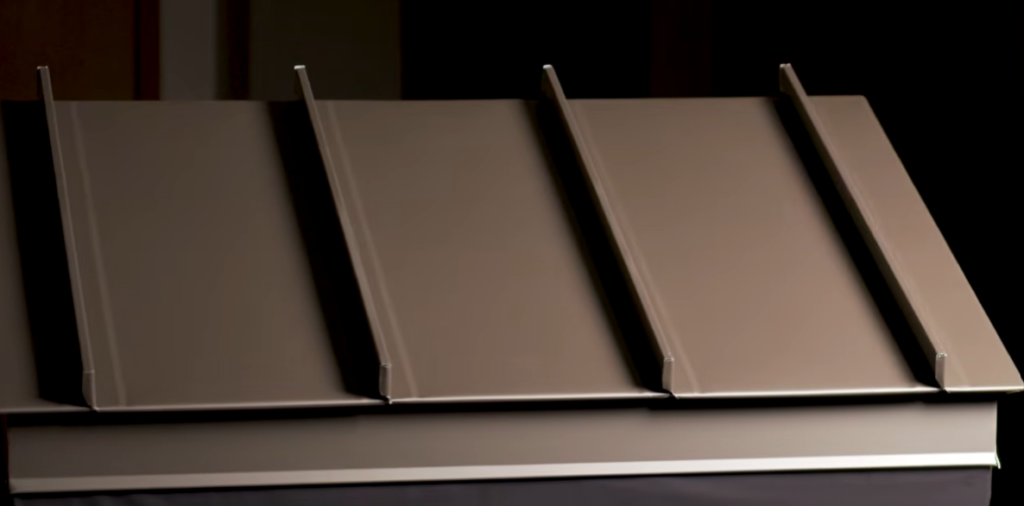
Snow accumulation on a roof can be a significant issue for home and building owners. This is especially true for those with metal roofs, which have smooth and often steep surfaces.
Snow can gather and then slide down the angle of the roof, creating a potential safety hazard for people walking underneath and an annoying wake-up call in the middle of the night for homeowners. Snow guards are a simple solution. As an installer, you just need to know how to implement them the right way.
Sheffield Metals International (SMI), a leading distributor of metal coils and sheets, provides informational content in the form of articles, videos, and downloads to the metal roofing industry. With decades of experience and a vast network all across the country, Sheffield Metals has the technical knowledge to get you the right information.
In this article, we’ll look at how to install snow guards on metal roofs. Specifically, we’ll walk through an installation of the S-5! ColorGard® Snow Retention System.
What Are Snow Guards?

Snow guards are devices installed on metal roofs that keep snow on the roof until it melts. Snow guards typically come in the form of rails or bars that keep snow from sliding. Keeping snow on a roof may seem counterintuitive at first, but it will promote safety by preventing heavy blankets of snow from tumbling off.
While snow guards are often used in regions with significant snowfall or in mountainous areas, they can be installed anywhere that gets snow. It’s best to install snow guards before snow accumulates — anywhere from spring to late summer can be ideal times for installation.
The S-5! ColorGard® Snow Retention System is one of the more popular products on the market for keeping snow on a metal roof.
How to Install Snow Guards on a Metal Roof (S-5! ColorGard® Snow Retention System)
1. Assemble the Proper Materials and Understand Your Design

One challenge of installing snow guards is figuring out where to put them on the roof.
Where you put them will be based on best performance but also aesthetics — some home or building owners may want a certain look for their metal roof, and the spacing of the snow guards could affect this. Take this into account during installation. Be sure you’re also consulting with your snow guard manufacturer for the layout of the snow guards and how many should be used, as each project will be different.
Before you begin installing snow guards, be sure to have all the materials you need and understand the layout of your unique roof.
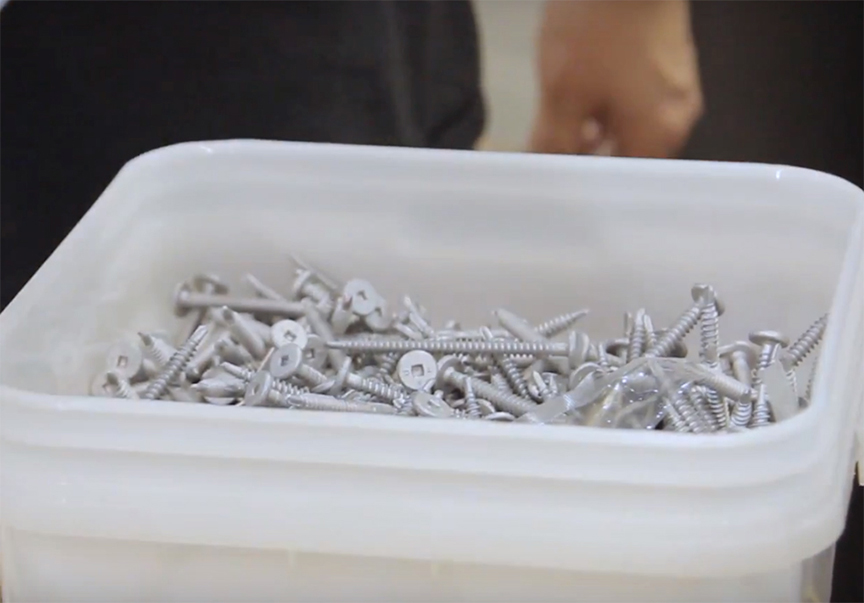
Assemble the set screws into the clamps. It can be helpful to wear a tool bag to keep the different parts you need handy.
2. Attach Clamps on Both Ends of Your Roof

Measure from the eaves and mark your attachment points with a water-soluble pen, then set your clamps. Use a torque wrench to verify the torque as per the manufacturers recommendations.
When verifying the torque, be sure to rotate the screw (past the gall) for an accurate reading. While it doesn’t have to be exact, you want the reading to exceed one hundred inch-pounds.
Because metal roofs can be wavy and not exactly straight, you should run a string line between each clamp. Depending on how long your run is, you may need extra clamps to keep your string from sagging or blowing in the wind. Once you have them in place, tighten the clamps into place.
3. Preload ColorGard® Bar with VersaClips™ and SnoClips™ and Install

Next, you’ll get your ColorGard® Bar and preload it with the VersaClips™ and SnoClips™. The SnoClips™ slow down the travel of snow and ice beneath the ColorGard® bar.
Each ColorGard® bar should be loaded with one VersaClip™ per clamp and one SnoClip™ per panel. Set the bar into place, loose-fit it with the bolts, insert the splice, and slide in the color strip.
The splice connects two bars of ColorGard® together. Loosely tighten the bolts on the VersaClip™ until the color strip and the next bar are in place. Once you install the color strip, crimp the top lip of the ColorGard® to prevent movement. Repeat for each bar.

4. Cut From the Edge
When you hit the last seam, you want to cut the bar 4 to 6” from that seam — it shouldn’t be any greater than that. If you have a piece hanging off, it could bend and disrupt the system. Clean off the swarf from the roof immediately after cutting.
Remember to always follow specific manufacturer instructions during installation.

What Are the Best Snow Guards for Metal Roofs?
In this article, we discussed how to install the S-5! ColorGard® Snow Retention System, a popular snow guard system for metal roofs. The best snow guard system for the project you’re working on may depend on unique factors, such as the design of the roof and the region. If you’re uncertain about which product is right for you, be sure to reach out to a trusted metal roofing supplier that can get you the right information.
Looking for More Information on Snow Guards for Metal Roofs?
Metal roofs are premium roofing systems that can last sixty years or more with the right design and installation practices in place. Snow guards can improve the performance of a metal roof by promoting safety. But which snow guard system is right for your next project, and how do you make sure you’re following installation best practices?
This article and the accompanying video give a good overview of how to install snow guards. However, it may be helpful to get in touch with a professional metal roofing expert who can offer you guidance on how to best approach installing snow guards.
At Sheffield Metals, our Technical Team is ready to help with any questions you may have about your next installation. Feel free to contact us for the information you need.